How to Install Arch Linux
· linux
1. Booting into the live ISO
Grab the latest Arch Linux ISO from their official website: https://archlinux.org/download/.
Flash a USB drive with the ISO image to make a bootable drive. On Windows, I usually use Rufus to do just this: https://github.com/pbatard/rufus.
Boot your machine from your USB drive by entering the BIOS boot menu and setting it as the primary boot option. Most likely you can get into the BIOS by repeatedly pressing F2 or Delete while the computer boots up.
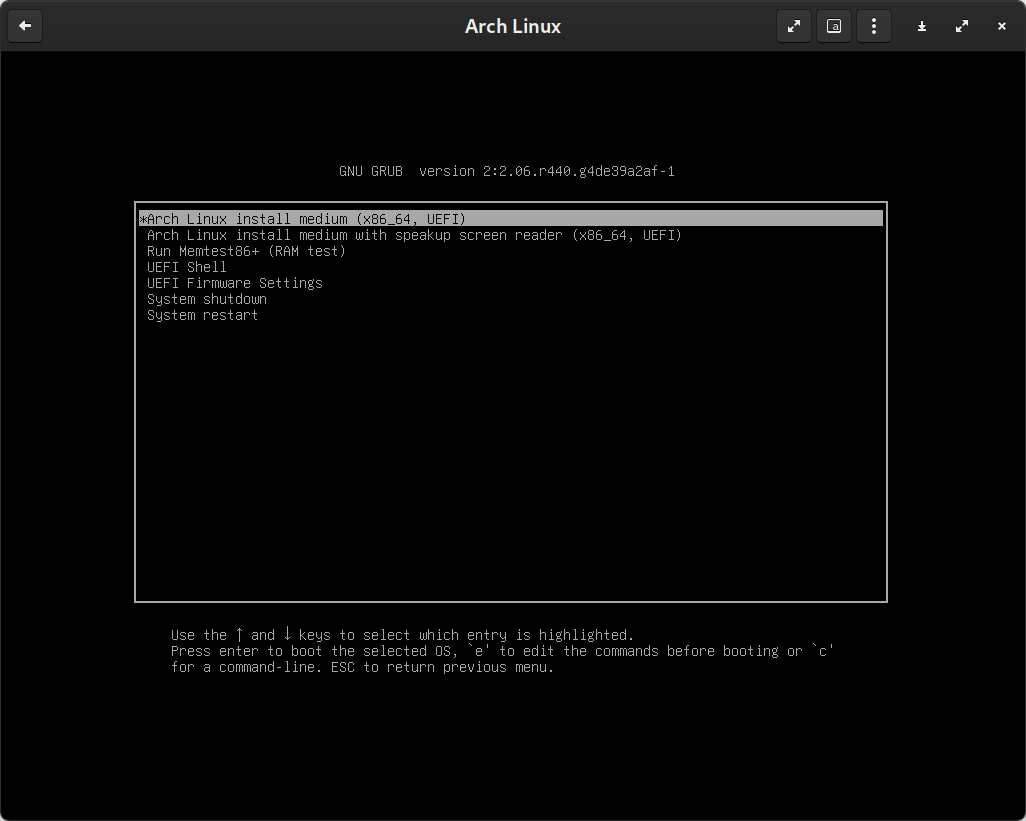
If the USB Drive was flashed correctly and the machine was set to boot up from it, you will be greeted by a GRUB boot screen as seen below. Select “Arch Linux install medium (x86_64, UEFI)”.
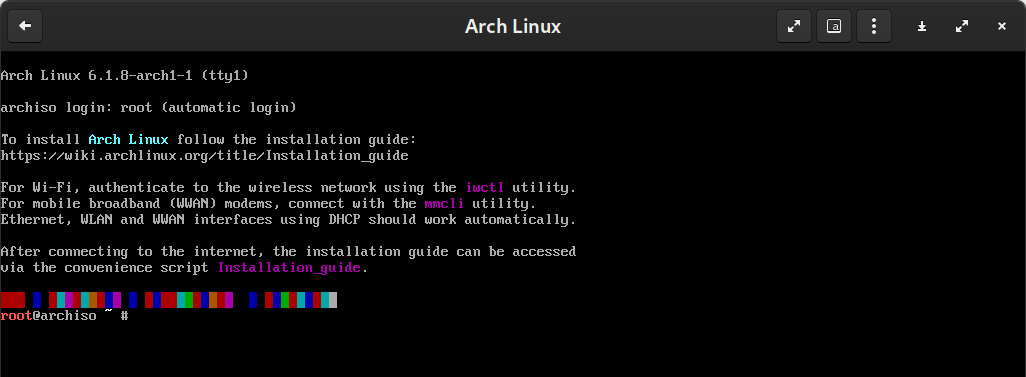
This will start a live Arch Linux running straight from the USB Drive. While no changes done to live environment itself will persist after shutdown, it will provide you a basic Arch environment with a variety of tools to actually install Arch Linux on your machine. You can see the initial prompt on the screenshot below.
2. Partitioning the main drive
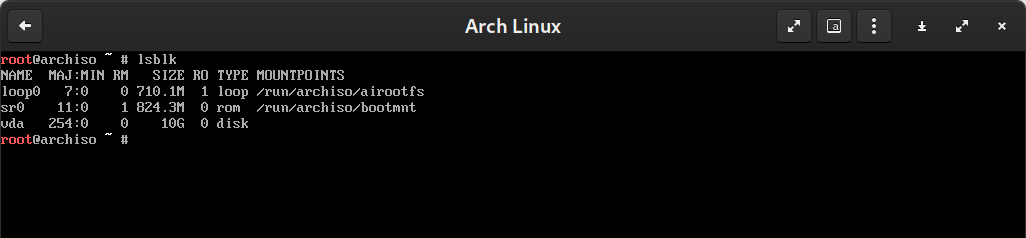
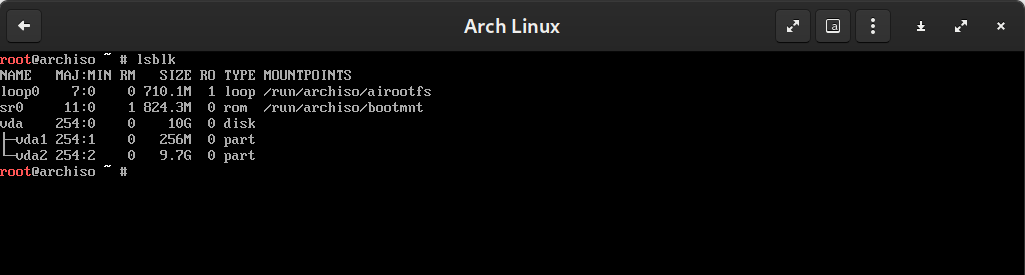
The first step is to set up the partitions on the main drive of your computer. Run lsblk to list the block storage devices attached to your computer. Your main storage drive will appear as sda, nvme, or some other name. Check if the storage size is about what you would expect and consider unplugging unrelated storage drives, if any, for this step. As I'm running this while in virtual machine, I'm getting a 10GB vda as the main drive, shown below.
The first step is to partition the storage drive. Run cfdisk /dev/vda, but replace vda with the device name of your actual main drive. If prompted, select gpt as the label type, as shown below.
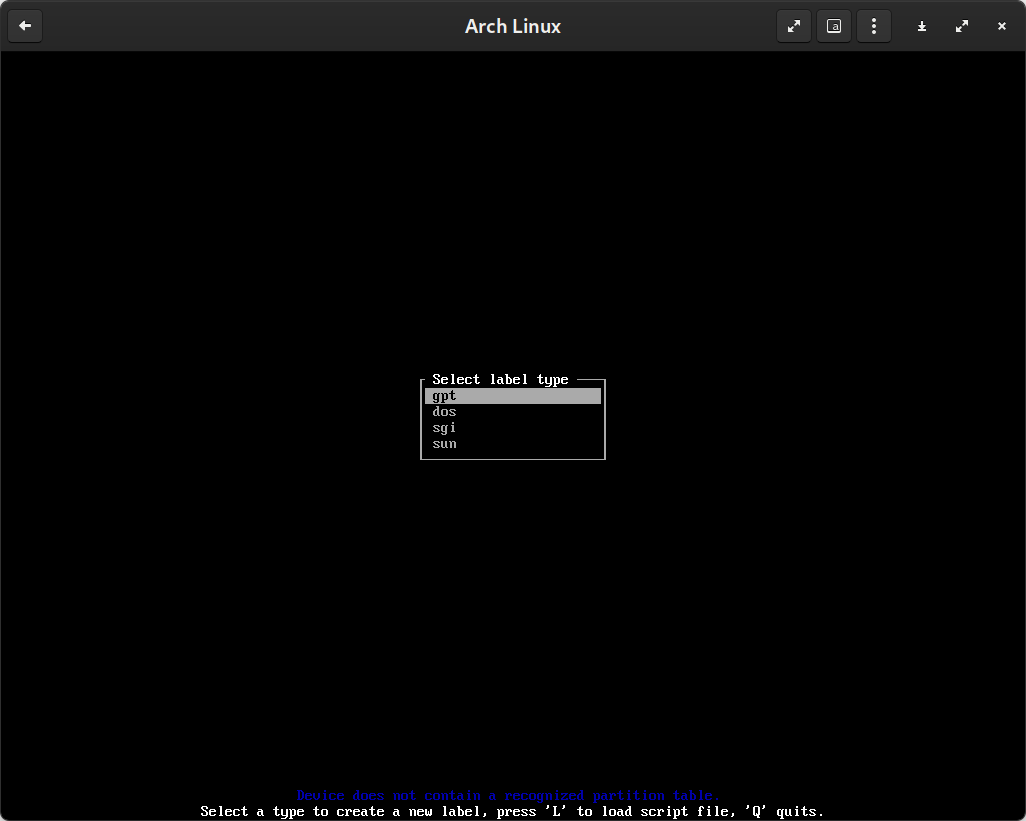
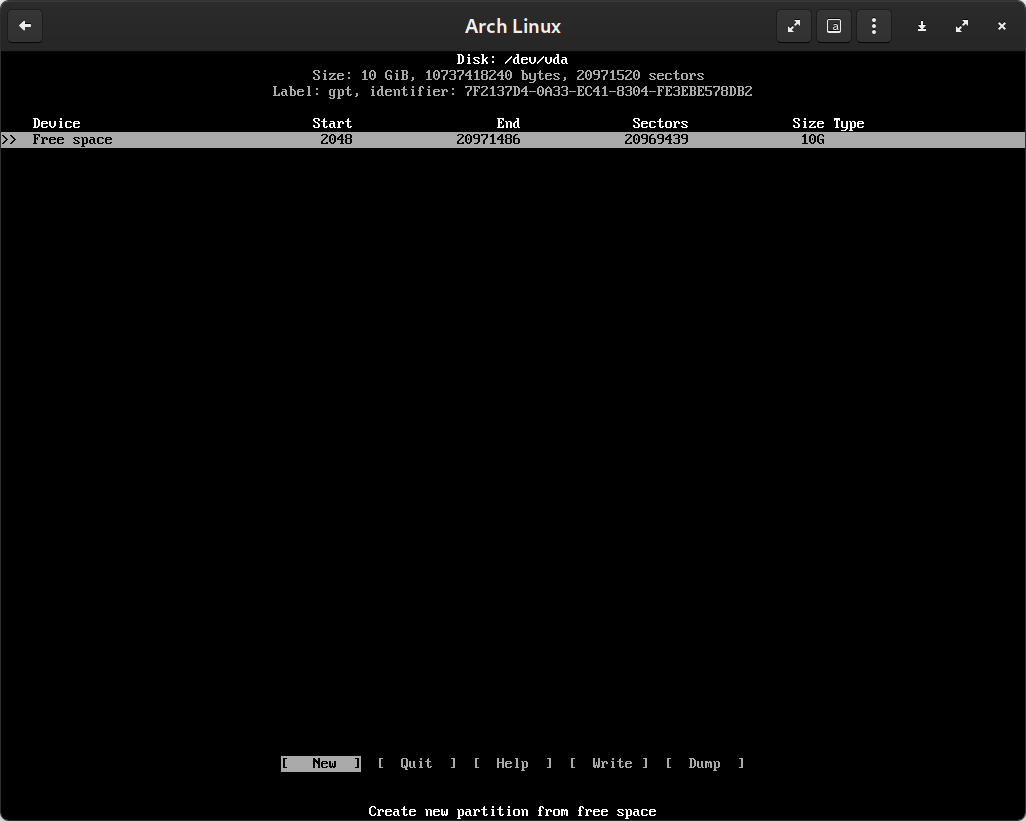
If the drive is already partitioned, you will see the existing partitions. Otherwise, the drive has never been partitioned and you will see the screen below with all the free space and no partitions.
NOTE: If the system has a low amount RAM, (say, less than 8 GB for a desktop machine running a GUI), you may want to look into setting up a swap partition. It allows the system to “swap out” unused memory pages into the disk, instead of failing by being out of memory, at the cost of a slower performance. I don't usually set up swap, but you might want to look into that for lower-end systems or memory-capped virtual machines.
Now, as we are setting up an UEFI-based system, you will want to set up a UEFI partition with an “EFI system” type and at least 512MB. Finally, partition the remainder of disk with a “Linux root (x86-64)” type. cfdisk is pretty intuitive to use, so you can set up the partition scheme as shown below without very detailed instructions.
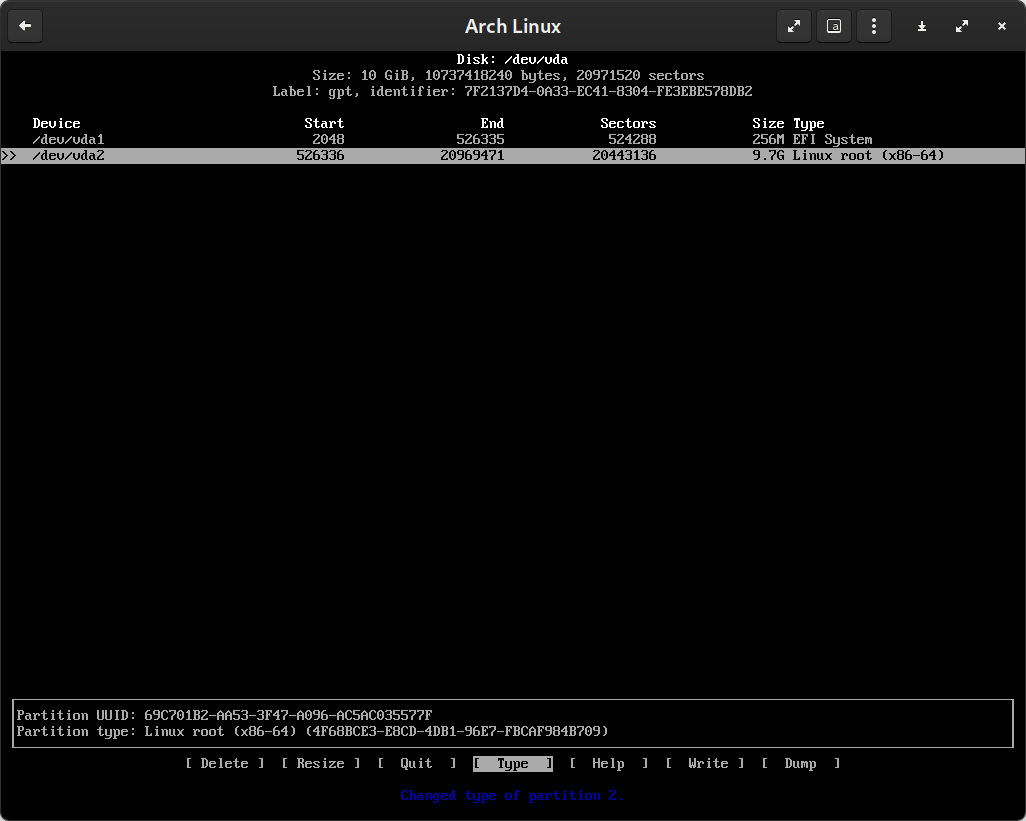
To commit the selected partition scheme to disk, select [Write] then confirm it by typing out “yes”. You should see a “The partition table has been altered” message on success and now you can quit cfdisk. You can check your work by running lscblk, which will now show the partitions you've just created.
3. Formatting each disk partition
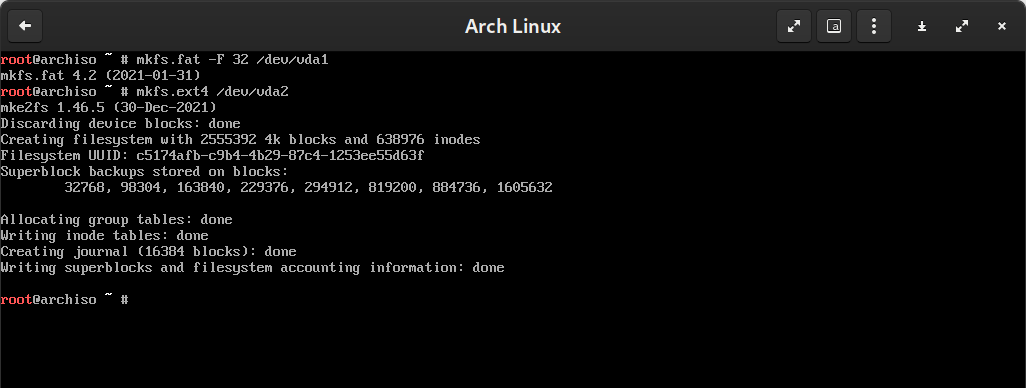
The next step is to format each partition with the desired filesystem format. For the EFI partition we want to format it into a FAT32 filesystem, while for the main Linux partition, we want ext4. Below the respective commands for my partition names are shown. Make sure to match your partition names.
# EFI partition
mkfs.fat -F 32 /dev/vda1

# main Linux partition
mkfs.ext4 /dev/vda2
Below the messages you should expect from running these commands are shown.
Finally, by running lsblk --fs you can check you've formatted the partitions correctly.

4. Mounting the partitions
The next step now is to mount those partitions to the live Arch Linux system so we can put the system files into them. Below the commands for my case are shown. Make sure to do it in this order.
# main Linux partition
mount /dev/vda2 /mnt

# EFI partition
mount --mkdir /dev/vda1 /mnt/boot/efi
The --mkdir flag ensures the intermediate directories are created before mounting the partition.
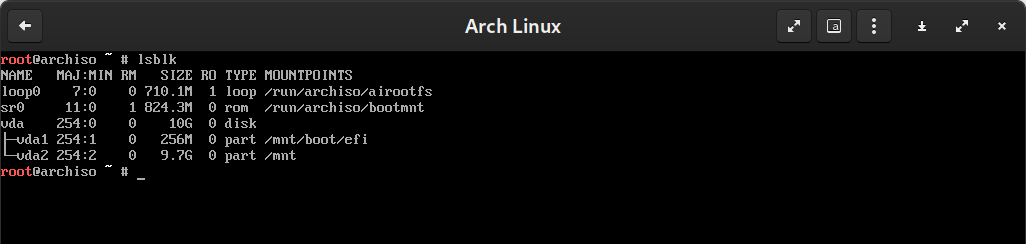
If you'd like, you can check you've set up things correctly by running lsblk and verifying the mountpoints of the partitions are as shown in the image below.
5. Bootstrapping the persistent Arch Linux installation
We can now bootstrap the actual Arch Linux installation that will go into your computer by running the following command.
pacstrap -K /mnt base base-devel linux linux-firmware vim
NOTE: You might want to include intel-ucode if you are running an Intel CPU or amd-ucode if you are using an AMD processor.
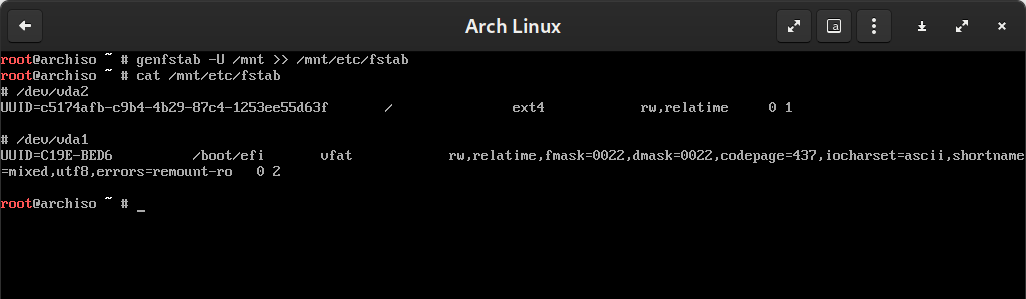
Finally we need to generate a fstab so the installed system knows which drives to mount on startup.
genfstab -U /mnt >> /mnt/etc/fstab
You can check the contents of your fstab by running cat /mnt/etc/fstab. It might differ from mine shown below.
6. chroot-ing into the new installation
Now we can chroot into our new Arch Linux installation by running:
arch-chroot /mnt
IT'S VERY IMPORTANT THAT YOU RUN THE NEXT COMMANDS FROM THE chrooted ENVIRONMENT, meaning that they will affect the persistent installation.
You may now set the timezone, locale, hostname and the root password by running the following commands:
# set the local timezone
ln -sf /usr/share/zoneinfo/<Region>/<City> /etc/localtime

# adjust the system clock relative to hardware clock
hwclock --systohc

# first edit /etc/locale.gen and uncomment "en_us.UTF-8 UTF-8", then run
locale-gen

# create the locale.conf file
echo "LANG=en_US.UTF-8" > /etc/locale.conf

# set the hostname (machine name)
echo "my-arch-install" >> /etc/hostname

# finally, set the root password
passwd
We should also set up the NetworkManager so the installation has internet connectivity when we boot from our main drive instead of the USB drive.
# install network manager
pacman -S networkmanager

# enable it in systemd at startup
# (the capitalized `N` and `M` are important)
systemctl enable NetworkManager
7. Installing the GRUB bootloader
For the last step, we set up the GRUB bootloader so that our machine can boot into our newly configured Linux installation.
# install grub and uefi boot manager
pacman -S grub efibootmgr

# install grub on the main device (NOT any partition)
grub-install /dev/vda
# you should see "Installation finished. No error reported"

# generate the grub configuration
grub-mkconfig -o /boot/grub/grub.cfg
Now we can exit the chroot and properly unmount the drives so that all changes are flushed to disk.
exit
umount -R /mnt
8. Finally booting into the new system!
We are now ready to reboot the machine and (hopefully) boot into our new installation!
NOTE: Don't forget to remove the installation media so we don't accidentally boot into it.
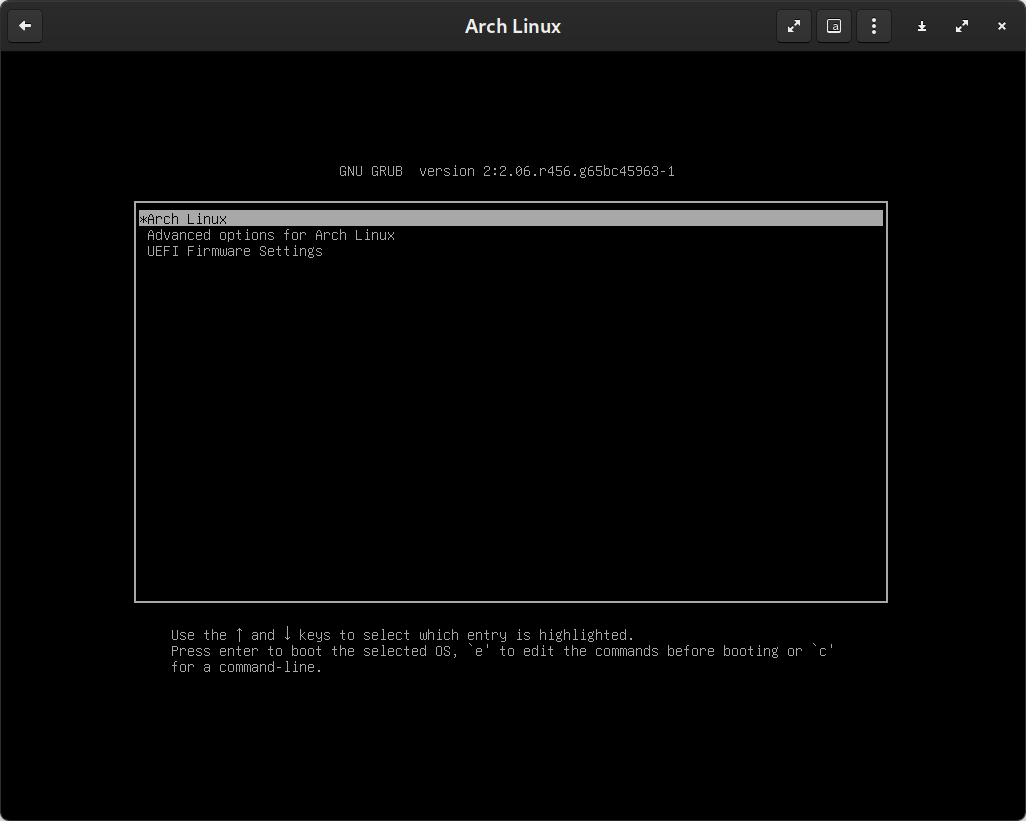
Note that the GRUB bootloader now lists “Arch Linux”, which is the actual installation in your machine and not the live version we've been working with before.
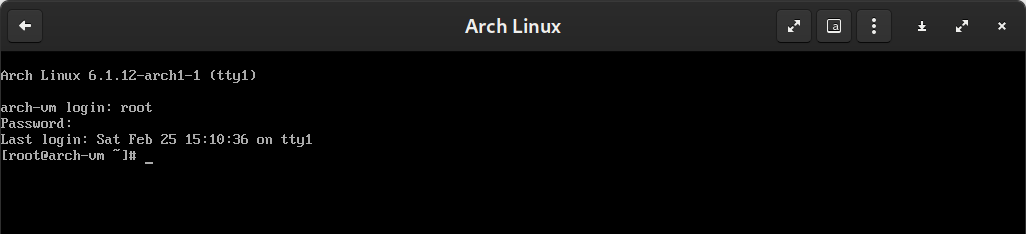
Finally, the login screen will display the hostname you've set and will allow you to log into your system with the username root and the password you've set before.
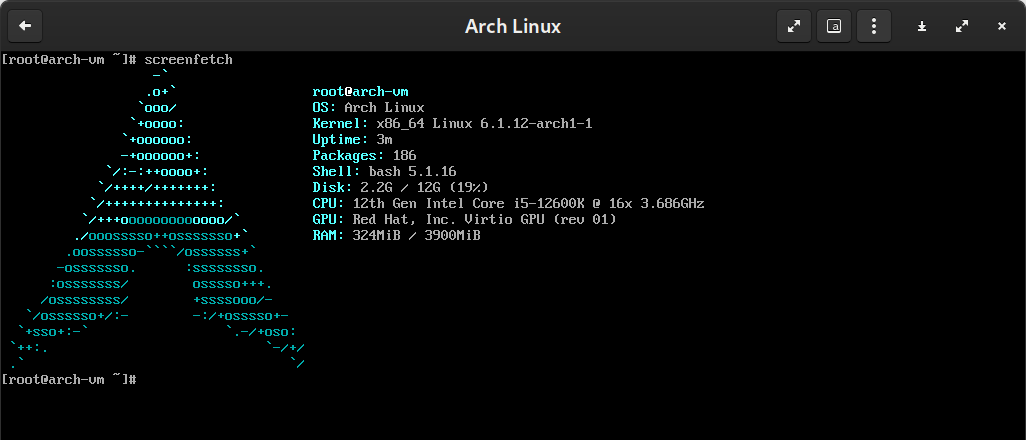
In the image below, I've installed the screenfetch from pacman for the classical “successful installation” screenshot: